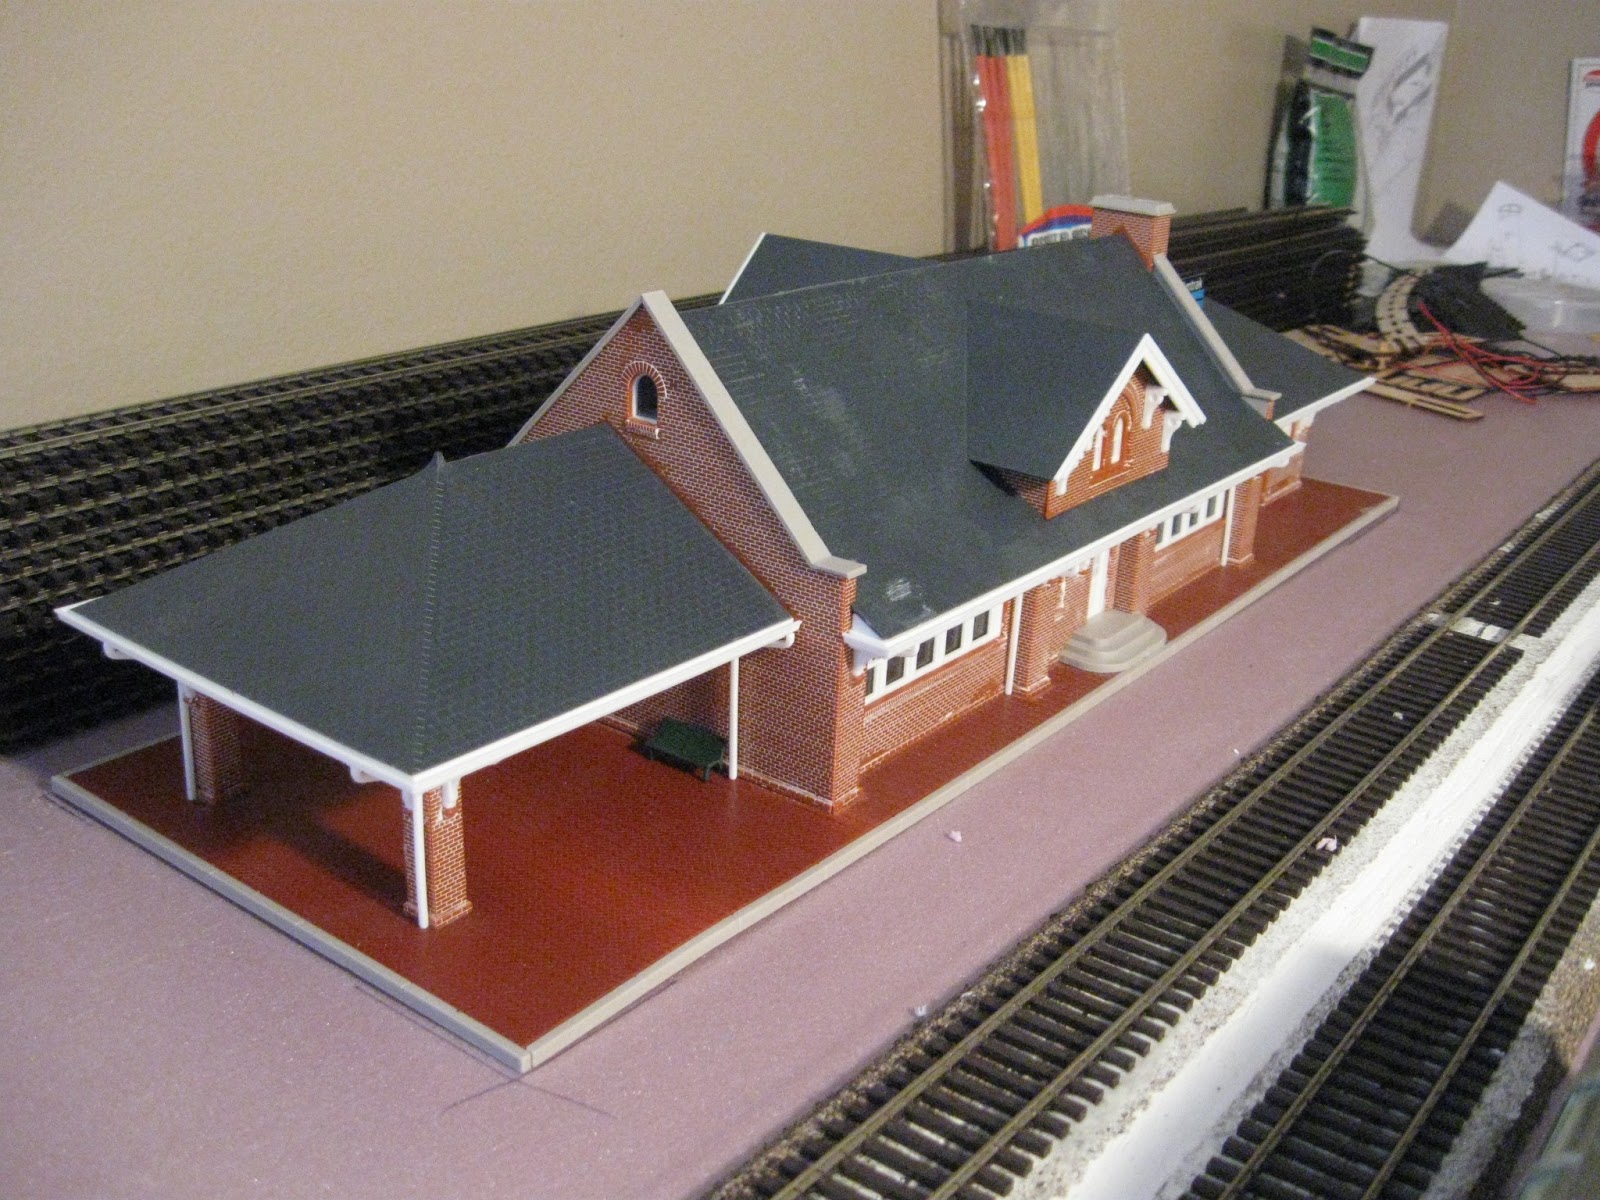
I recently (finally) completed Walthers' City Station, for my model railroad. It has had a few personal touches added to it as well. The most noticeable addition is interior and exterior lighting. I have also added some benches, and a neon Amtrak sign. Other than that, the kit is pretty much the same as it was designed to be built, out of the box.
I decided to add lighting when I first started building the model. When I first bought it, it was shipped to New Hampshire, and Steven, in a fit of ambition, decided to start on it. When he moved, he shipped what he had done out to me. At that point, he had added mortar to the brick walls and assembled the main walls. He had also installed most of the windows.

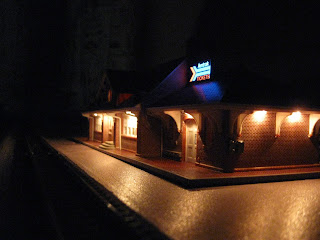
When I got it, I started planning where I wanted lights. This building has fairly small windows, which are difficult to see into, so I decided not to put a detailed interior in it. While I wanted light in the windows, I really wanted a nicely lit exterior, providing lighting for the outdoor waiting areas and the platform. I had quite a few miniature light bulbs on hand from a few other projects, and decided to use those. They operate on 12 volts, so I would not need to put in any resistors or other electronics. I decided there would need to be lights by every door, to light the steps, so people could get in and out safely. Additionally, I wanted lights under the portico, on one end of the depot, so that people waiting under there would have light. A few other lights under the overhang in the roof would balance everything out, and eliminate dark areas around the depot.

Once I decided where to put all the lights, I painted all the interior walls black, to help eliminate any light leaks. I then drilled holes for the bulbs, exactly the size of the bulbs. I then painted the holes black, to help reduce any glow in the plastic, around the light bulbs. I did not want lots of hanging lights, so the light bulbs would be embedded in the plastic to some degree, giving it more of a recessed lighting look. Before installing any light bulbs, I used a scrap piece of plastic from the kit, drilled a hole in it, and placed a light bulb in it and turned it on. I wanted to make sure the light bulbs would not melt the depot! I put the test light bulb on a higher than recommended voltage, and let it sit for several hours. While the plastic was warm, the heat from the light bulb did not seem to be enough to cause it to melt. With that confirmed, I began installing the light bulbs in the depot itself.

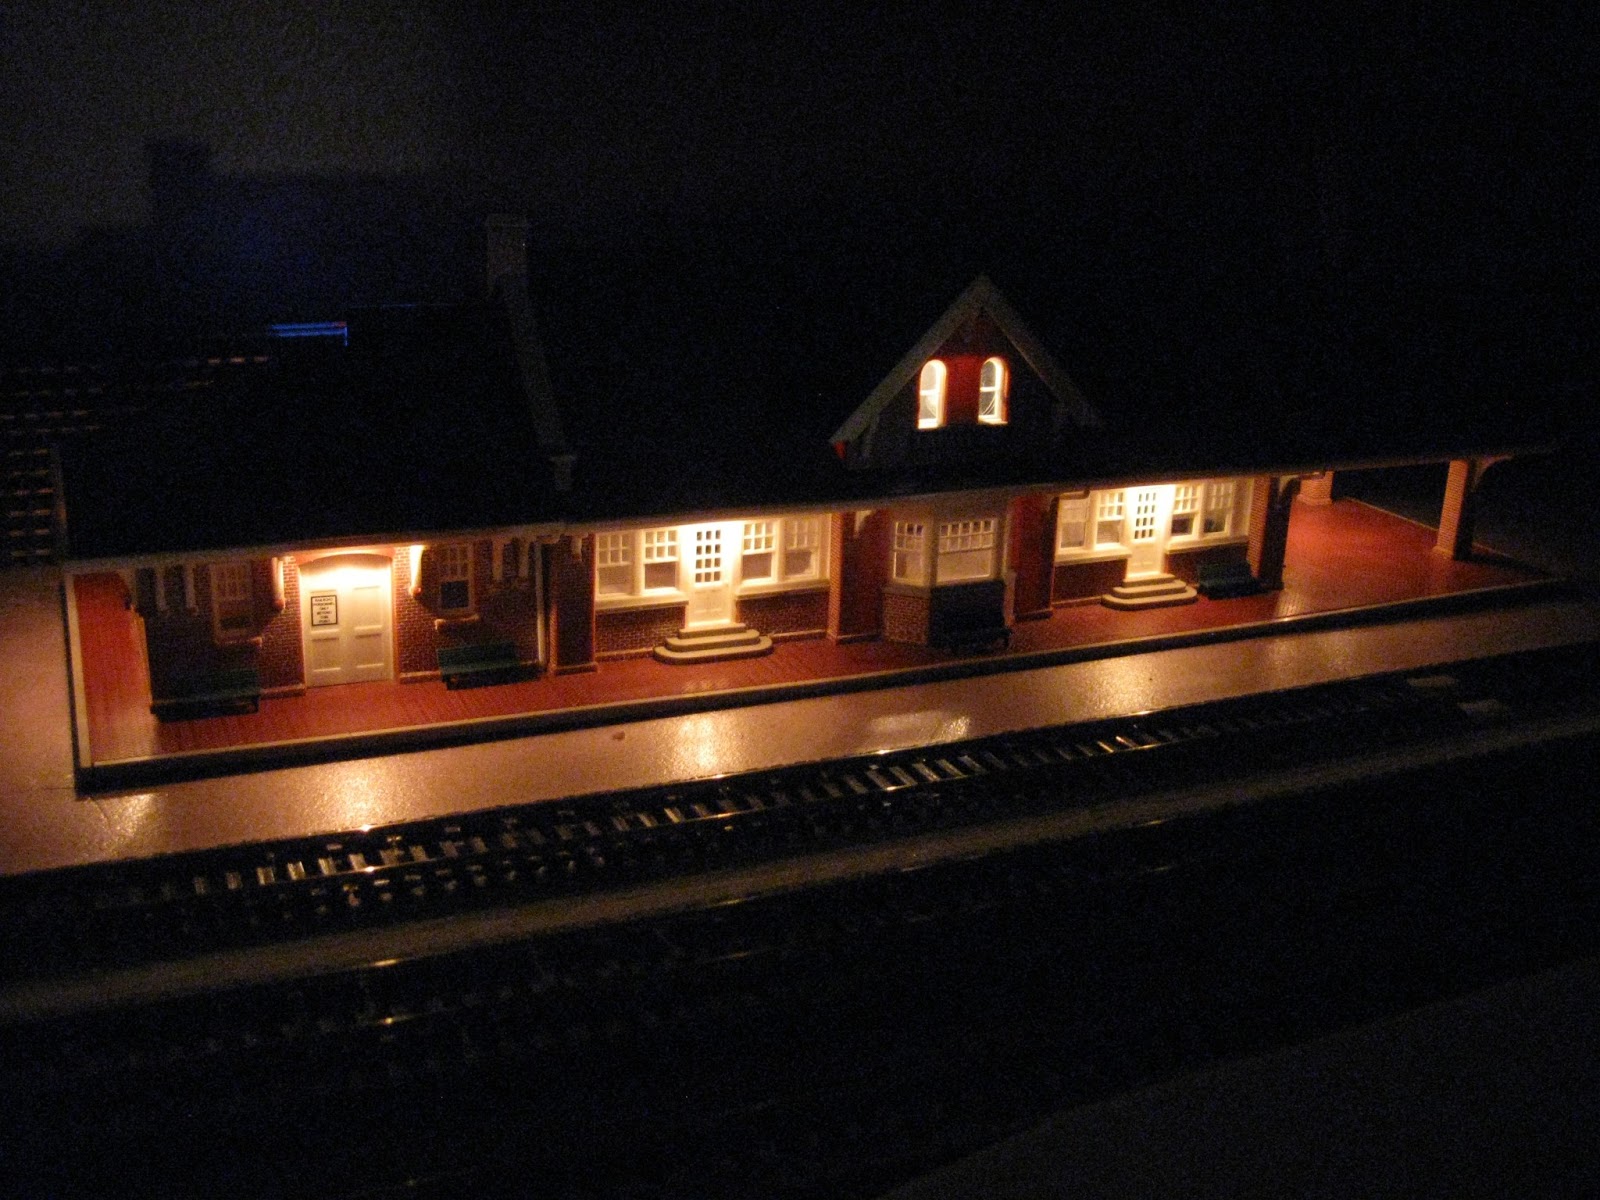
As I Installed the light bulbs, I tried to keep the wiring as neat and organized as possible. While it is difficult to actually see in the windows, I did not want wires hanging down in places they would cause shadows or would be easily seen. The interior would be lit, so even wires inside could cause noticeable shadows if they were in the wrong place. After I installed the exterior light bulbs, I put in all the inside ones. I did not want the depot to radiate light, I just wanted there to be enough inside to make it look used. I did not want dark windows on the building.
As I was finishing up installing the light bulbs, I decided I wanted to add a neon Amtrak sign. Miller Engineering (
www.microstru.com) makes a fairly significant selection of simulated neon signs, for several model scales, including HO, N, and O. I found an Amtrak sign that was originally designed to be used as a sign hanging from a wall, over a sidewalk. I intended to put it on the roof, although I did not want one as big as their Amtrak billboard. I made a small cut in a wall next to where I wanted the sign, using a hobby knife. I tested the sign several times to make sure it would fit, as I was cutting the hole. The hole was the smallest thickness I could get away with and have the sign fit. I installed the wiring behind the wall, which is high enough up to hide it from view through the windows. Below the table top of the model railroad, I installed a converter module to power the sign, using power from my 12 volt accessory bus wire. I then ran the sign wires and all the light bulb wires to a 4-pin modular plug, like those used in phone lines.
Beneath the layout, I ran some feeder wires from the accessory bus to the hole in the table top. Another set of feeder wires went to the sign module. Under the table, I wired the sign leads and the lighting leads to a 4-pin modular connector, similar to a phone jack. When I placed the depot on the table, all I had to do underneath the table was plug in the modular plug and connector, and turn on the light switch, and the depot lit up. I like using the modular connectors because they allow for quick, easy connections. I can remove the depot easily, for cleaning, and when the time comes to weather my track.

As an afterthought, I decided to add some blinds inside the windows, to help conceal the lack of an interior. I also found some green benches, and placed those around the outside of the depot. Additionally, I found an electric meter, and mounted that on an exterior wall. I still would like to add some support legs to the neon sign, but other than that, I am quite satisfied with the depot. I like how much light it gives off, and once there is a platform in place, it will be a nice centerpiece to the station area.


5 comments:
Wow this is nice. It looks pretty realistic too. You did a great job, James.
I'm in the process of building this model. Can you provide more information about the color paints and lights used? Thanks.
Dear Anonymous,
I actually did not paint this building as I built it. I will (eventually) paint the roof, just because I did not like how that turned out. The brick work was detailed using a method Steven describes in his post "Detailing Brick Structures," found here: http://ogdenbrotherstrains.blogspot.com/2011/07/detailing-brick-structures.html. The entire structure did get a treatment of Dullcote before the windows were installed.
The lighting is all 1.5 volt incandescent bulbs from Miniatronics. I purchased them in packages of 20 at a local hobby shop. If you go to their website (www.miniatronics.com) they are under Incandescent Lamps, then Micro Miniature Bulbs. There are several inside, hanging from a plastic sprue glued to the inside, above the gutters, to keep it out of sight. The soffit lighting was installed before the roof was put on the building. I drilled holes in the soffit and the inserted the bulbs from the top, so that the end of the bulb was flush with the bottom of the plastic. So far I have had no problems with bulbs overheating and melting or warping the plastic. There are four bulbs installed in a similar fashion to light the area under the portico. If you are worried about heat buildup, "Warm White" or "Sunny White" LED's could be substituted for incandescent bulbs and have a similar effect. Make sure you use resistors to make the bulbs or LED's compatible with your power source.
The Amtrak sign is from Miller Engineering (www.microstru.com), under their Animated Signs line. I got the left hand version. That requires a power connection, using a flat cable, which is included with the sign. To make this connection, I cut a vertical slit in the wall, next to the chimney. It is just tall enough to allow the edge of the sign through, where it connects to the flat cable. Since the slit is on an inside corner where the wall and chimney meet, I really did not have to do anything to hide it.
I added a few other details, including window blinds, benches, and a few signs. The benches were a Woodland Scenics product that I picked up at a local hobby shop. I also stumbled across the blinds at the local hobby shop, and honestly have no idea who makes them. I have seen similar products available through Walthers though. They are printed on clear plastic, which can easily be taped to the inside of the window. The ones I used required a little trimming to get them to fit properly. The signs are water slide decals I had laying around.
-James
James -
Thank you so very much for the follow-up! I greatly appreciate the time you took to respond.
The link to the instructions for the brick mortar is very helpful. I have seen the wash technique described in various youtube videos. I have not seen or heard of the spackle technique - which seems infinitely better to create realistic mortar joints. I'm going to try that method! Thanks loads for that tip!
The base color of the station house brick seems very "orange". I'm wondering if you know of a "red" that can be used to create more realistic brick than the base color in the model from Walthers.
I appreciate the information and supplier for the lighting. The pictures you provided really show how lighting dresses up the model. Seems like these lights can be used in a variety of models to dress up the scene and create more realistic environments. Thanks.
All the best,
Dear Anonymous,
I have found the color of the brick among Walthers structures to be a bit inconsistent. The brick in the depot I built was a pretty nice red, but I also have their Car Shop kit, and the brick is very orange, as you describe. I do not like the orange in that kit. The best bet, if you do not like the color is to clean and paint all the brick parts before you start assembling the building. After you paint it, spray it with some Dullcote, and then the spackle mortar technique should work fine.
-James
Post a Comment